After I decided to start write things down, the first tool that I found for this task was Jekyll - a static site generator supported by GitHub Pages. It was very useful for creating the first version of this blog, but finally, I decided to use Grain (hope to present it in the following article). As a result of playing with Jekyll, in this article I will show how to build a simple blog using Jekyll as static site generator, GitHub Pages as static site server and Asciidoc as markdown language. We will create a blog from scratch, add new posts and change default configuration and web pages layout using mentioned technologies.
Why static matters?
The web started as a bunch of static sites that provided various pieces of useful information for first explorers of the internet. But it turned into civilization phenomenon with exponential growth only when it became dynamic with all Web 2.0 stuff like social media, wikis, media platforms, etc.
Anyway, even today lots of web resources really need a very limited amount of dynamic magic. If client state on your site is not persisted, it can be handled by JavaScript locally. If content is changing relatively rarely, you can just redeploy it with every change. If you need something like commenting feature, you can rely on external resources (for example disqus.com in this case).
And if you get rid of all heavy dynamic weapons like databases and server-side code and express your site as a collection of HMTL, CSS and JavaScript files you can gain some very worthy benefits. The first and the main one is the ease of site deployment. All you need to do is copy your files into any kind of web server (Apache, Nginx). And if you go further and use cloud file storage (like S3) or dedicated web platform (like GitHub Pages), you get even more (think how it can help you in content management, content delivery, maintenance simplicity, performance, and security).
Who is Jekyll?

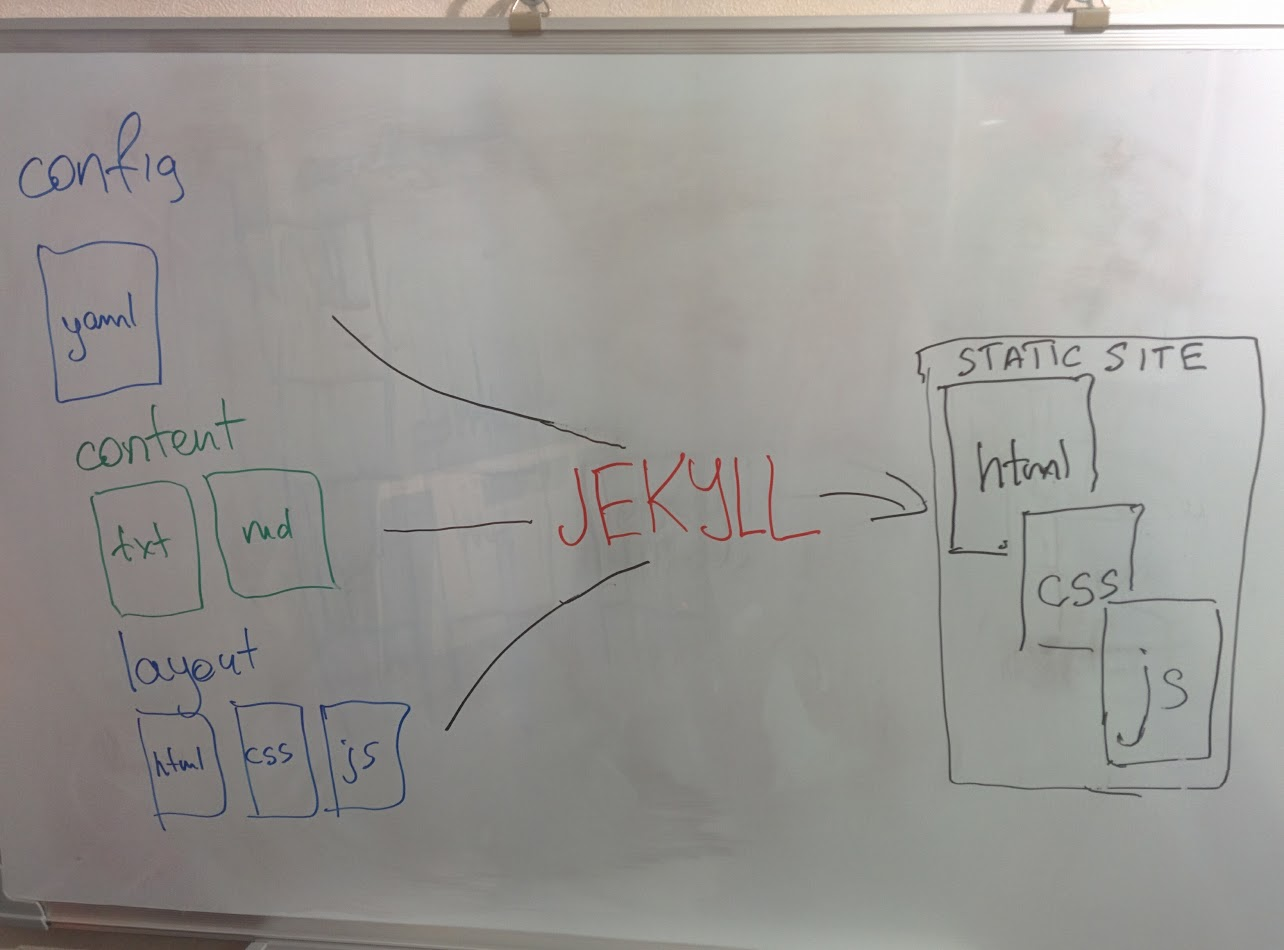
Jekyll is a static site generator written in Ruby. Actually what it does is taking your content along with the desired layout and transform them into a collection of HTML, CSS and JavaScript files ready for deployment and servicing as a static web resource. Content can be provided in any form from plain text files or markdown to pieces of HTMLs. The layout is specified as the name of one of the ready-to-go layouts Jekyll provides (with customization possibilities) or as your own HTML, CSS, and JavaScript files with template-related features.
Moreover, Jekyll is a great example of the tool with both comprehensive predefined conventions and almost endless customization possibilities. If all you need is a simple blog, you should just place you text-file posts named in a special way into the special directory, define few configuration parameters and you’re done. If you need something more specific, you can include your own pieces of HTML, CSS or JavaScript anywhere you need, even using Jekyll as just template engine for your sources ignoring all other features.
So, all I need is a simple blog
Check Jekyll quick-start guide! You need to follow these 5 steps:
-
Install Ruby
-
Execute
gem install jekyll bundler -
Execute
jekyll new myblog -
Execute
cd myblog; bundle exec jekyll serve -
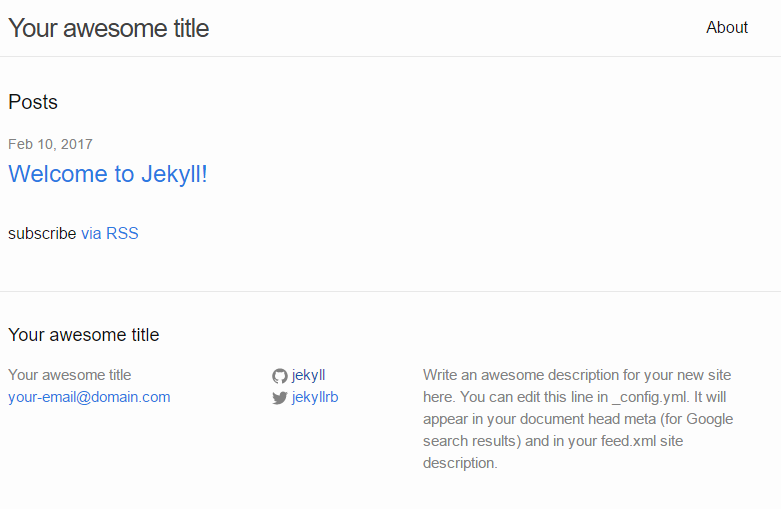
Go to http://localhost:4000
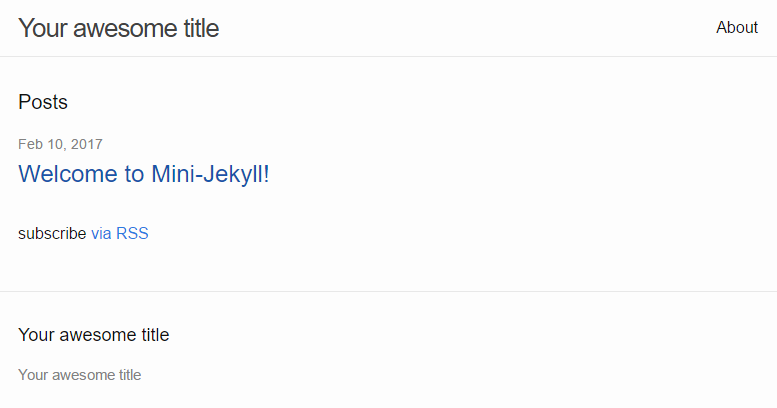
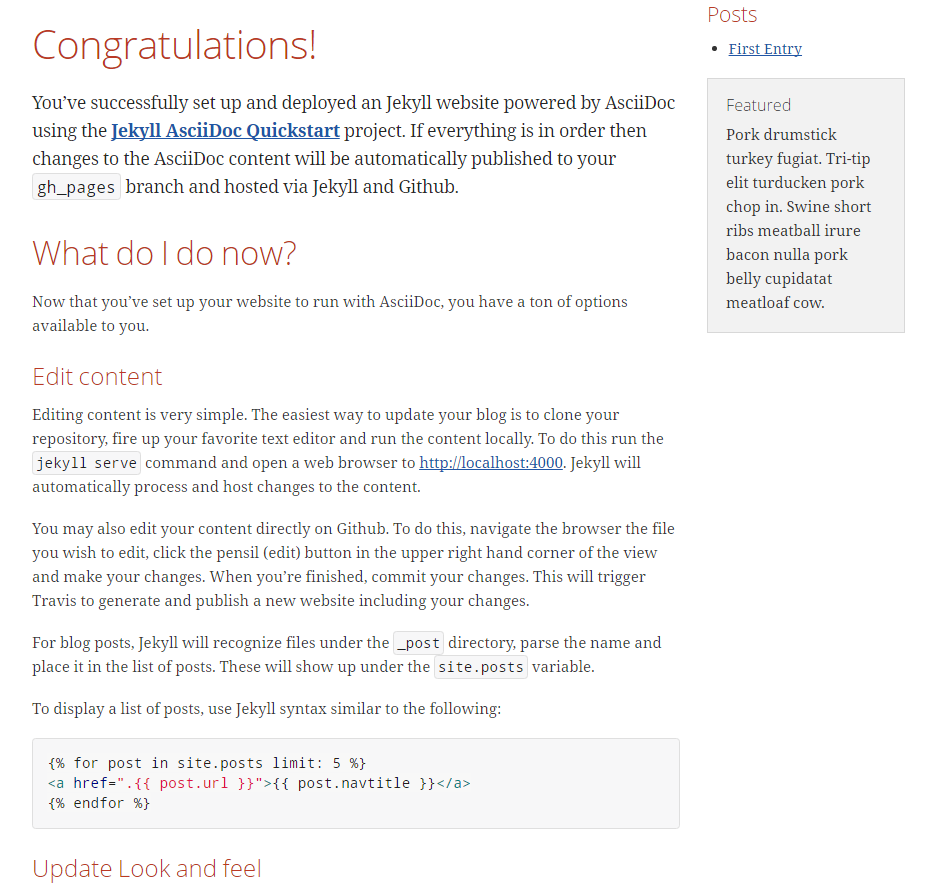
You should get result same as this one:
However, you can do the same even without installing Ruby and Jekyll itself. First, you need to fork repository or download sources from mini-jekyll repository, or, as an alternative, you can quickly create them by yourself:
-
Create directory for your blog
-
Create file _config.yml with the following content
-
Create file Gemfile with the following content
-
Create file index.md with the following content
-
Create file about.md with following content
-
Create file _posts/2017-02-20-welcome-to-mini-jekyll.md with following content:
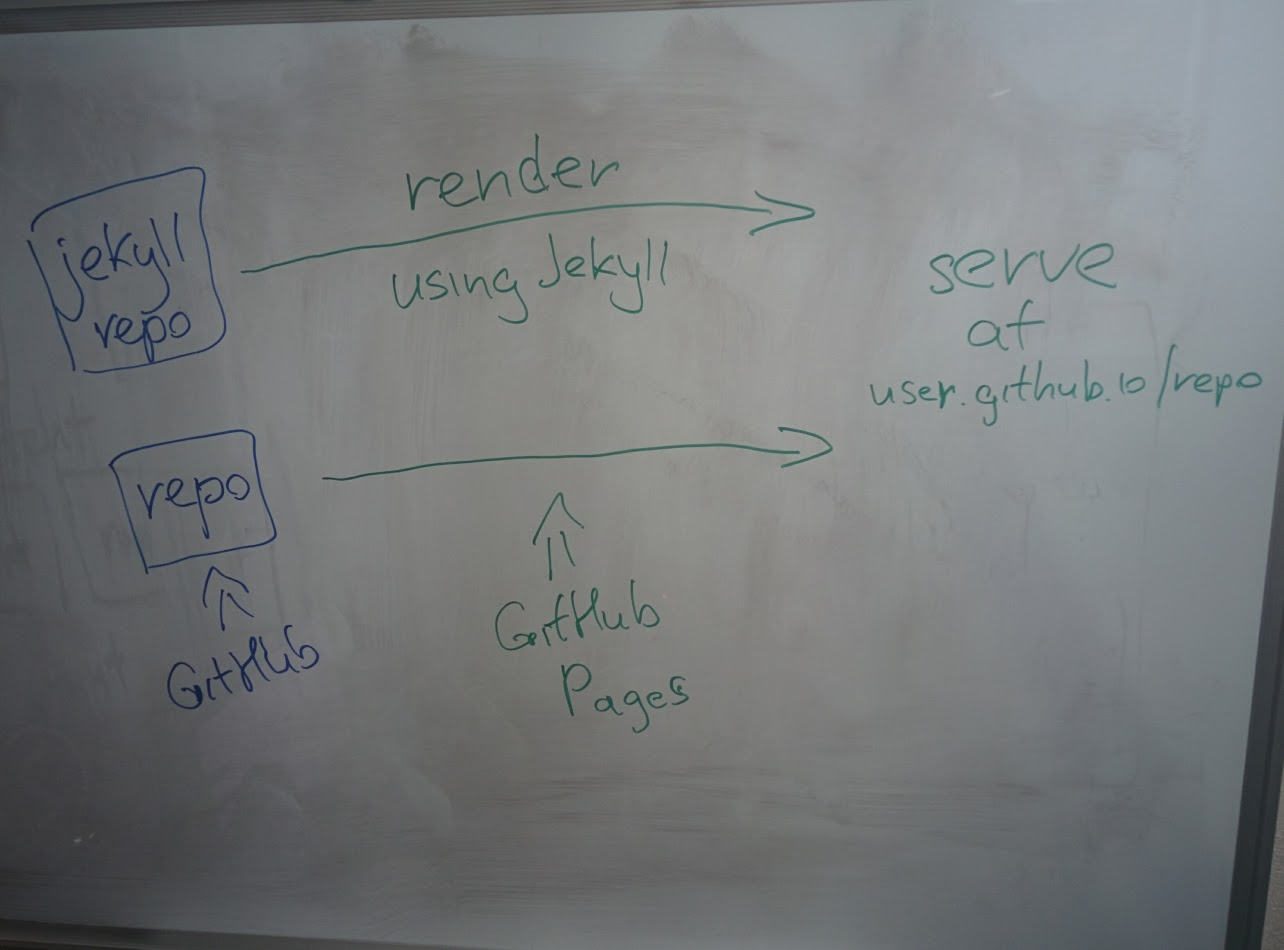
How can you start this site without even installing Jekyll? Easily, with support of GitHub Pages - web platform that serves static content from GitHub repositories. Besides just showing content as it is, GitHub Pages can determine that your repository contains Jekyll project, render it and serve result.
All you need to do is:
-
Execute
git initinside your local blog directory -
Execute
git add . -
Execute
git commit -m 'initial blog commit' -
Execute
git remote add origin https://github.com/yermilov/mini-jekyll.git(substitute URL with yours) -
Execute
git push -u origin gh-pages -
Go to https://yermilov.github.io/mini-jekyll (substitute with your github username and repository name)
Got Jekyll and GitHub Pages. What’s about Asciidoctor?
If you want to create blog for simple text+images posts, you’ve already got a good starting point. But if your blog is going to be developer-oriented, you probably may not be satisfied with using neither markdown nor HTML for your posts. In this case, Asciidoc should be your default choice. It shares the same concept as Markdown, is partially compatible with it, but has much more powerful features needed for advanced drafting of articles, technical manuals, books, presentations, and prose.
Asciidoctor is a toolchain that implements Asciidoc format. We are going to integrate it with Jekyll for rendering content using jekyll-asciidoc plugin.
As a starting point, fork or download sources from jekyll-asciidoc-quickstart repository. The same as before, instead you can download it and create your own repository from scratch with same content.
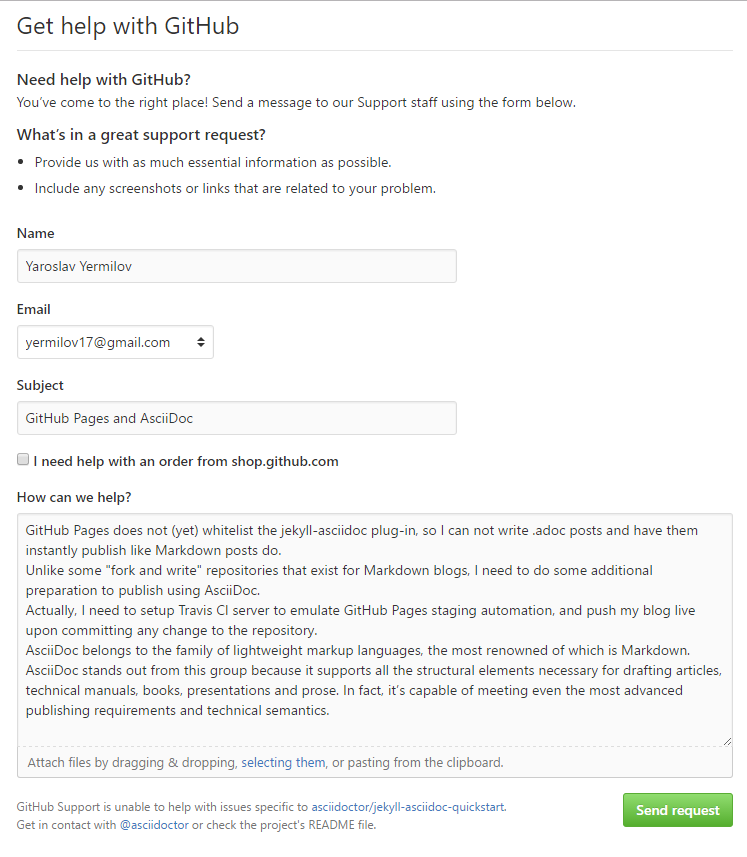
Unlike previous examples, some additional setup is needed. GitHub Pages does not (yet) support rendering Asciidoc content, so you can’t just push it to GitHub repository and got rendered site back. Luckily, there is an easy way to overcome this problem. However, it will be great to show GitHub demand in Asciidoc rendering for example through GitHub support form.
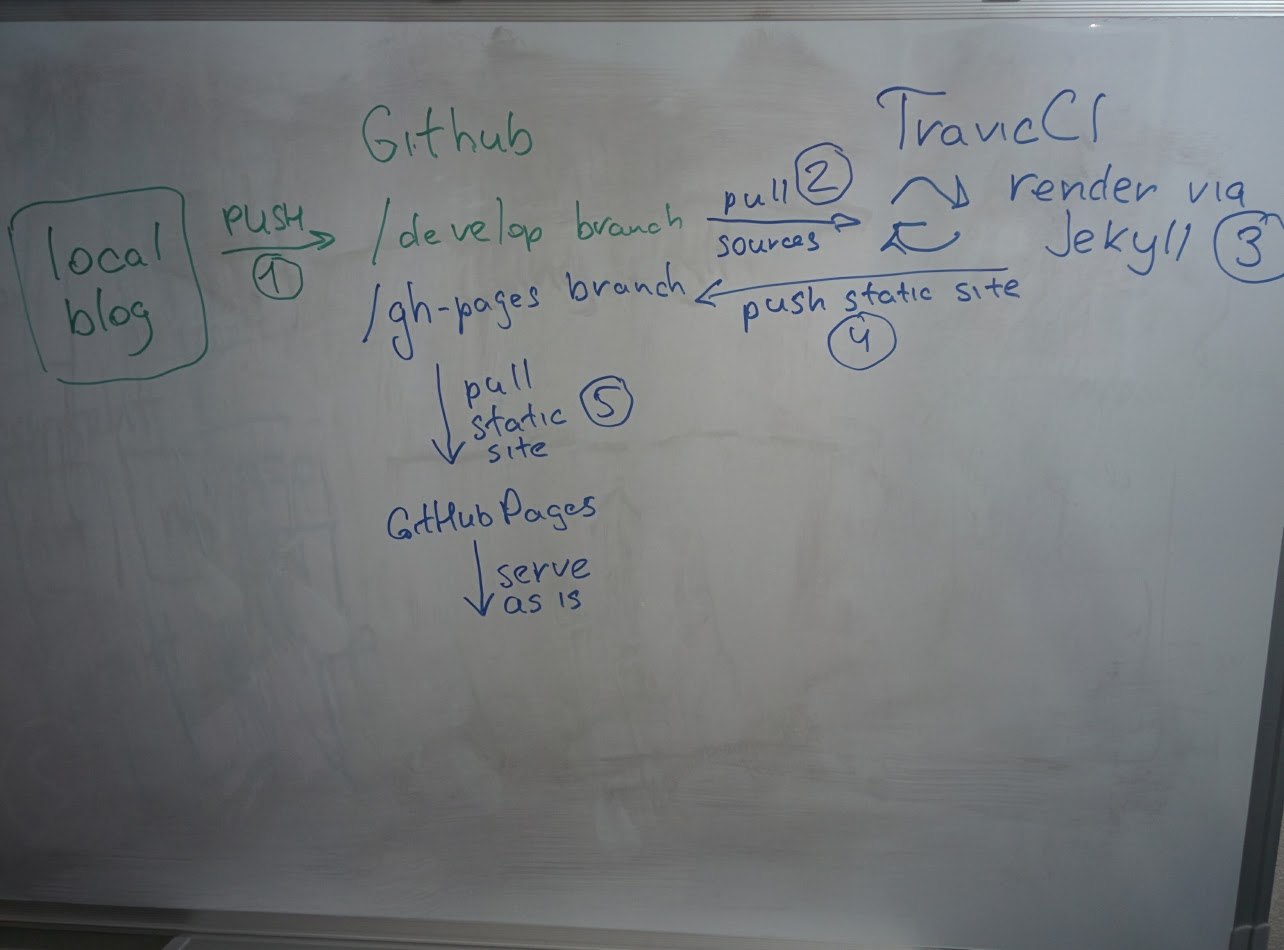
Actually, we will setup Travis CI server to emulate GitHub Pages staging automation, and push blog live upon committing any change to the repository. Steps to achieve it are perfectly described in jekyll-asciidoc plugin documentation.
After cloning quickstart repository you need to make two changes in the sources:
-
Add GitHub personal access token (described here).
-
Modify original .Rakefile, to make it possible to use your e-mail for automated pushes to your repository:
After your push changes into develop branch (do not use master or gh-pages because it may cause conflicts), Travis CI automatically will pick up sources, render them using Jekyll and push them back into master or gh-pages branch (depending on GitHub conventions).
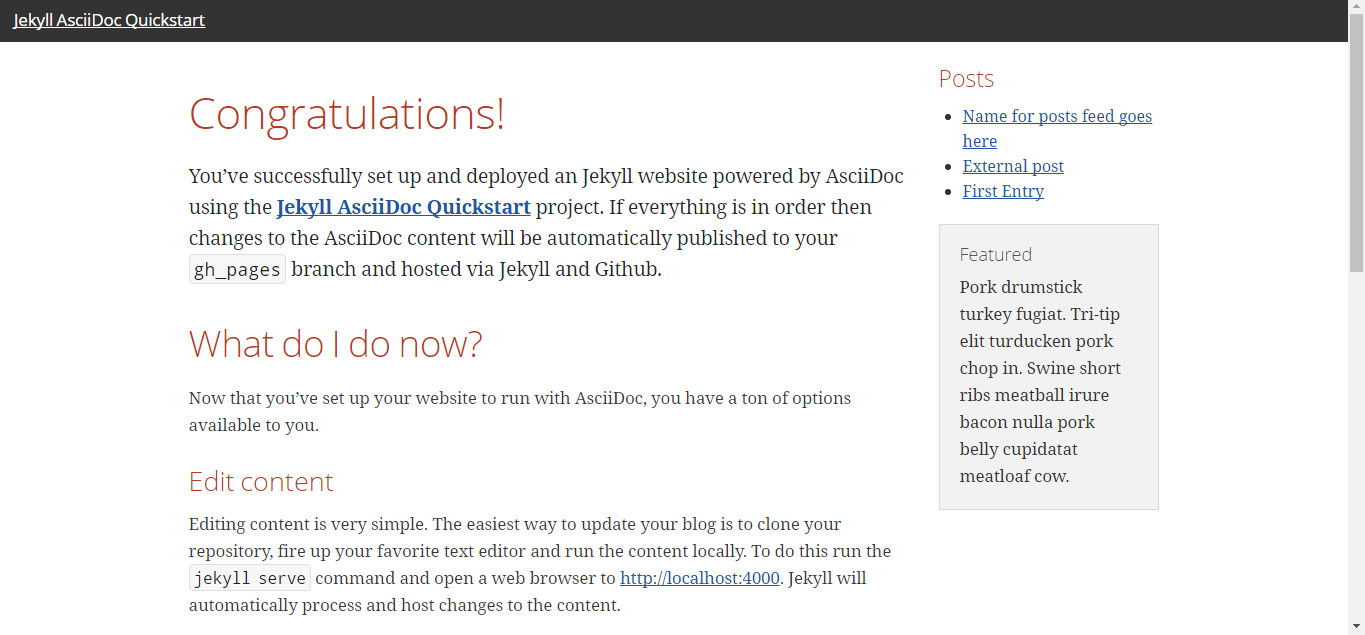
Now you can go to https://yermilov.github.io/jekyll-asciidoc-quickstart (substitute with your github username and repository name) and enjoy!
Adding new post
The first thing you probably want to do with your blog is to create a new post. To do it, add file named yyyy-mm-dd-new-post.adoc (substitute yyyy-mm-dd with publication date and new-post with short post name) with following content:

For quick start with Asciidoc refer to Writer’s Guide. After it, you can proceed with more advanced Syntax Quick Reference and full User Manual.
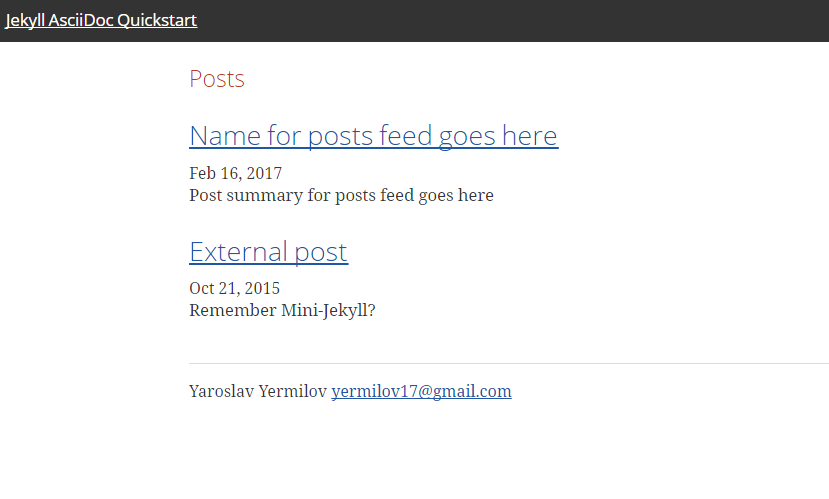
Probably, you already have some post on external resources you want to link to your new blog. With Jekyll’s flexibility, this is the matter of two easy steps. First of all, create file that will contain your external post metadata. Name it yyyy-mm-dd-external-post.md similarly to regular posts.
After it, open file _layouts/default.html and do following changes:
Now link in the posts feed is pointing to original external link.
Improving pages layout
As we have already made a minor change to default page layout in our blog, let’s try some more significant ones, like changing pages layout.
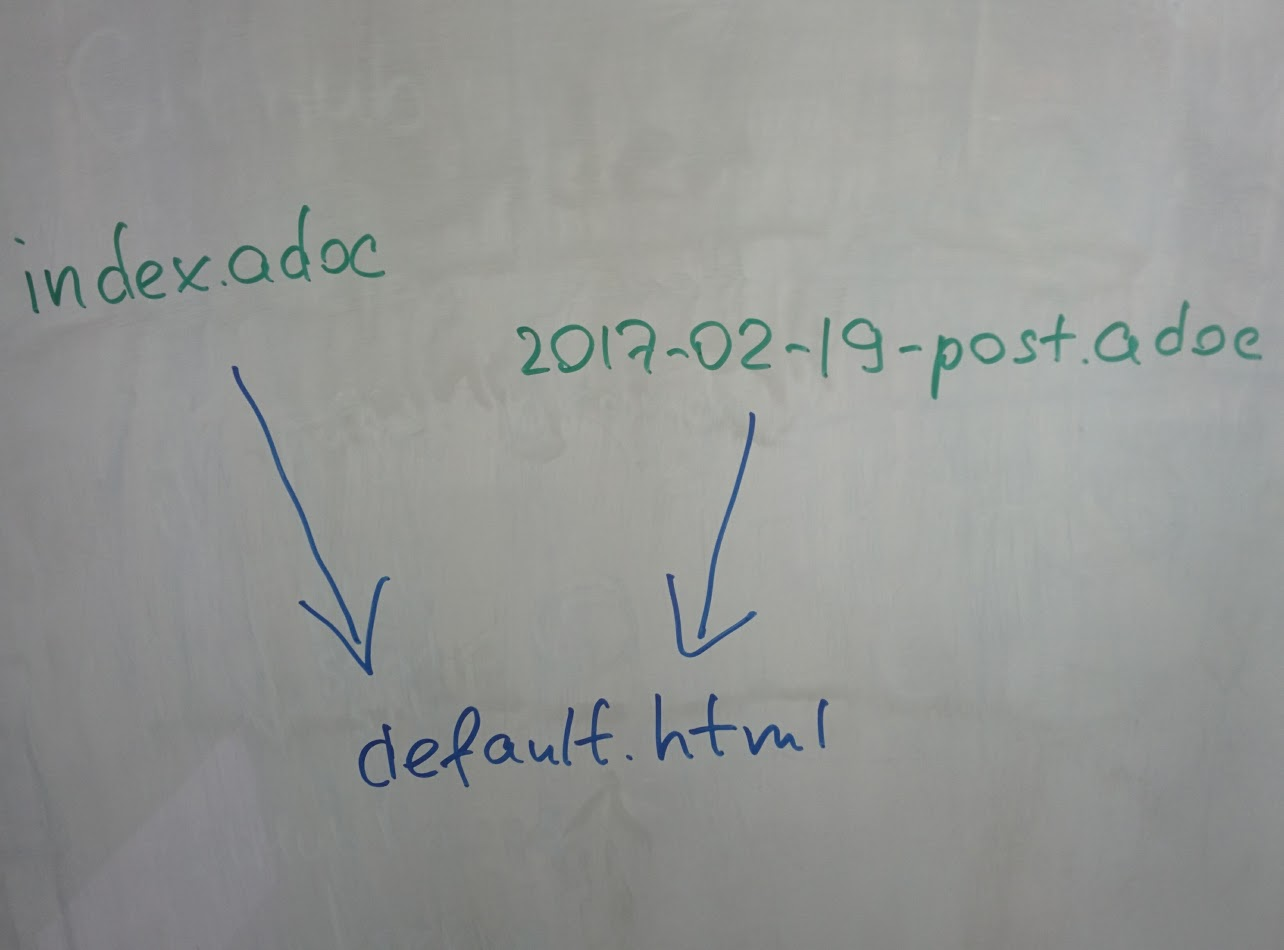
For the starting point, pages layout is pretty straightforward.
There is a file named default.html in the _layouts folder and it’s used for all site pages.
Each page (index.adoc or any from the _posts folder) during rendering is placed instead of {{ content }} placeholder.
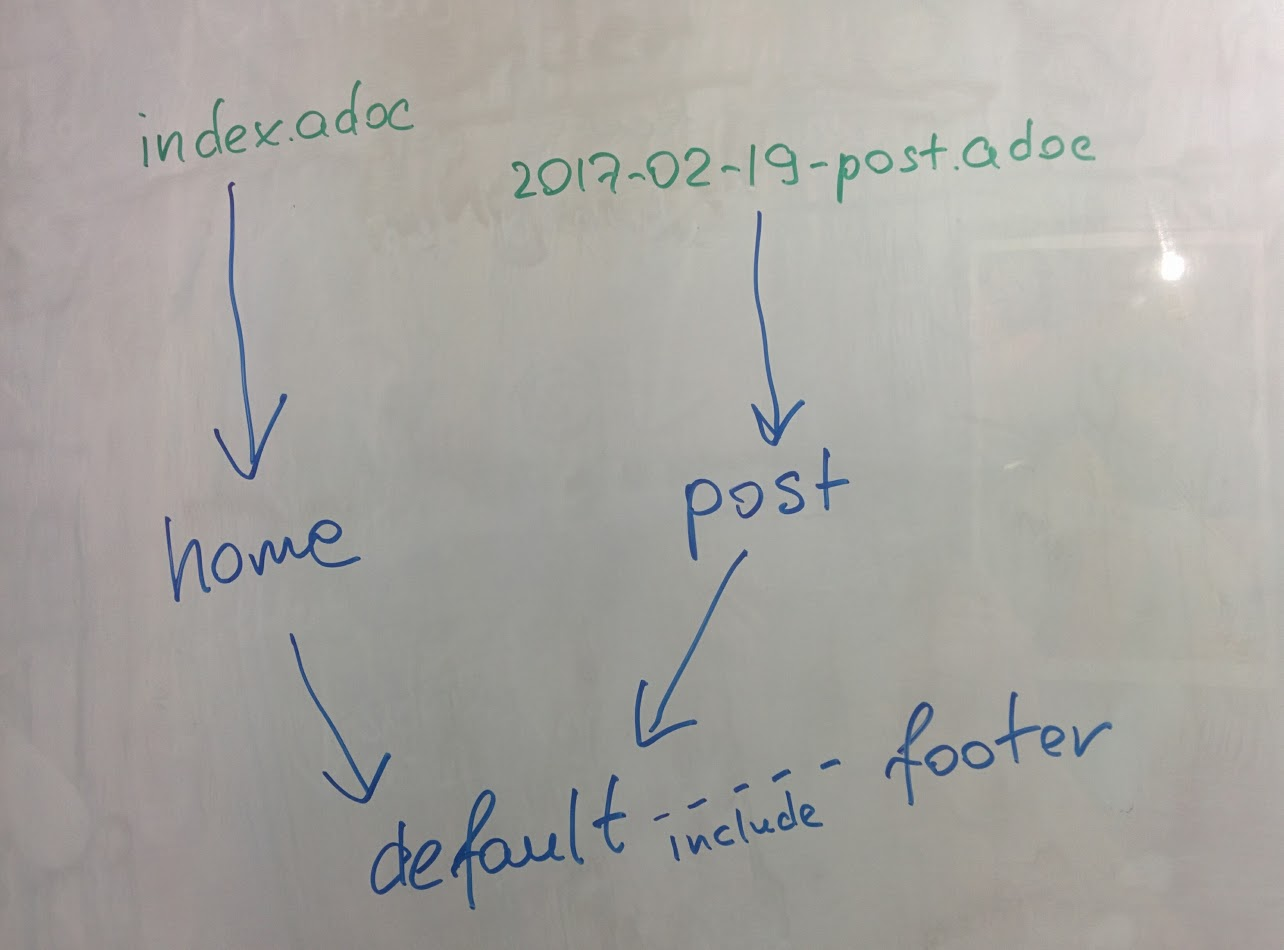
Let’s now split it to different layouts. First, to change home page layout, create file _layouts/home.html:
First 3 lines are YAML configuration of the layout.
Here we specify that we want to inherit default layout, which implies placing content of current page instead of {{ content }} placeholder.
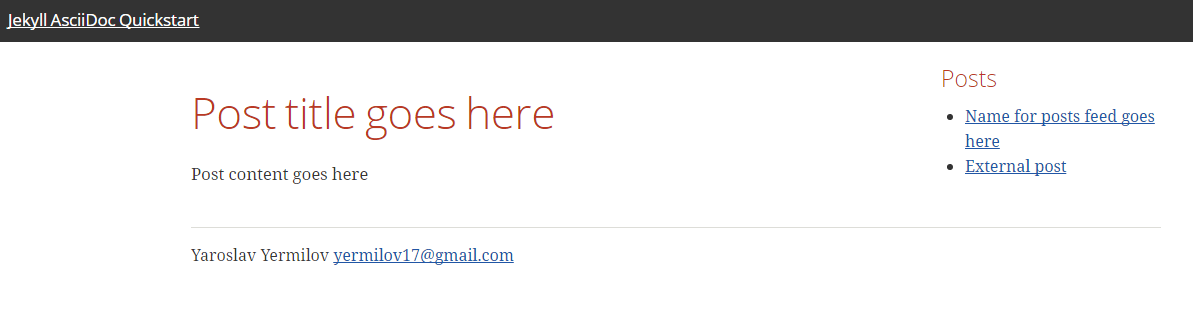
Now, create file _layouts/post.html. It will be used as layout for all post pages.
Next, modify _layouts/default.html. Do the following change:
After finishing with layout, we need to reconfigure content files. Let’s start from index.adoc. Now it can be just:
Proceed with post files. Regular post should look like:
External post metadata should look like:
The last thing we should do in scope of this post is organizing our layout a little bit. For now, our default layout is quite big, let’s split it with help of include feature. As example, we will take page footer.
First, create file _includes/footer.html with following content:
Next, do the following change with _layouts/default.html:
You can notice, that footer uses variables named starting with site..
They are taken from _config.yml file.
Add two lines to it (substitute with your personal data):
Now we are done! Let’s examine final result: