The first option I considered when I decided to start up this blog was to use static site generator, and Jekyll as the most popular one was an obvious choice. Shortly after I was ready with the first version of this blog and first post - Using Jekyll, Asciidoctor and GitHub Pages for static site creation, I’ve noticed a link in @sdelamo Groovy Calamary #68 to the static site generator from Groovy world - Grain. As I consider myself as a Groovy ecosystem fan, I could not resist it and quickly migrated this blog to Grain.
Service site generators
Typical web resource after you request a page from it does something like following:
-
fetch some data from storage
-
process it
-
select one of web page templates and render it
-
return result
Many of them do not require dedicated data storage or data itself is changing relatively rarely. It means that web pages can be generated once and served without no additional processing for every request.
It’s important that we should not return to the boring Web 1.0 world. If client state on your site is not persisted, it can be handled by JavaScript locally. If the content is changing relatively rarely, you can just redeploy it with every change. If you need something like commenting feature, you can rely on external resources (for example disqus.com in this case).
And if you get rid of all heavy dynamic weapons like databases and server-side code and express your site as a collection of HMTL, CSS and JavaScript files you can gain some good benefits: ease of site deployment, content caching and delivering (which leads to better performance) and security management.
Typical static site generator takes your content (it can be plain text file, markdown, asciidoc, etc.) along with bunch of configuration parameters and the desired layout (usually HTML with some kind of template DSL) and transform them into a collection of HTML, CSS and JavaScript files ready for deployment and servicing as a static web resource. According to staticgen.com, there are dozens of different static sites generators, and Jekyll is the most popular from them. I’ve already posted an article about Jekyll, and today we will look closely at Grain, which is a workhorse of this blog itself.
So, Grain
Grain is an open source static website generator for Groovy. It provides all usual static site generator features and moreover has a particular killer feature - Groovy is a privileged citizen for all kinds of source files (configuration, layout, content and more).
Starting Grain blog is as easy as downloading one of its themes. Let’s examine it with yet another blog example, which means Grain Octopress Theme is theme of our choice. To ensure everything is working open your project directory and execute following:
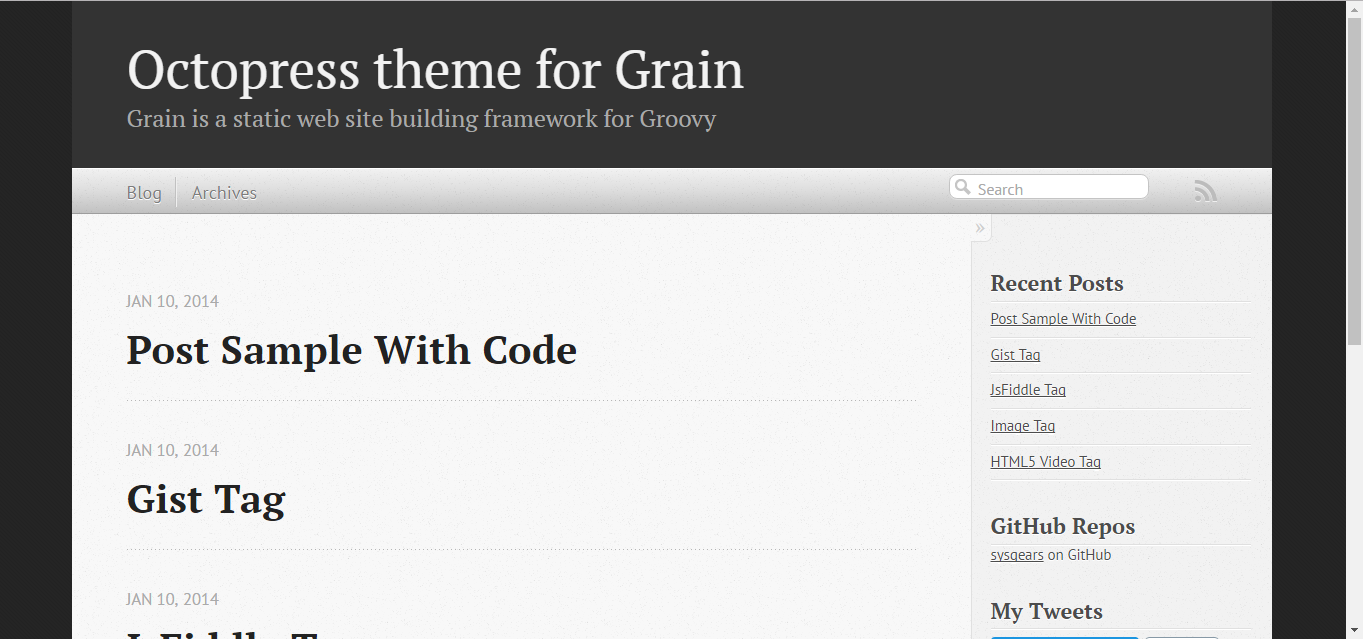
If you open now http://localhost:4000, you should see following:
Now some housekeeping
Before start using Grain, you need to perform some housekeeping. For example, as Grain try to rely on Groovy ecosystem tool as much as possible, it uses Gradle as build tool. But distribution that we’ve just download uses version 1.8 of Gradle wrapper (for the moment of writing this article 4.0 is actual version). You can easily update it by applying following change to build.gradle file:
And running following command:
Also, it would be great to update .gitignore file to ignore irrelevant for VCS files as following:
You should also fix JVM memory configuration in grainw files:
Modern web requires you to serve all your site content over HTTPS protocol. By default, not all Grain Octopress Theme content complies it. You should edit file theme/includes/custom/head.html as following:
Adding new post
The first thing you probably want to do with your blog is to create a new post. To do it, add file named yyyy-mm-dd-new-post.adoc (substitute yyyy-mm-dd with publication date and new-post with short post name) with following content:
As you can see, another great thing about Grain is that it supports Asciidoc format out-of-the-box. It’s a great benefit if your blog is going to be developer-oriented, and you probably may be satisfied with using neither markdown nor HTML for your posts. Asciidoc shares the same concept as Markdown, is partially compatible with it but has much more powerful features needed for advanced drafting of articles, technical manuals, books, presentations, and prose.
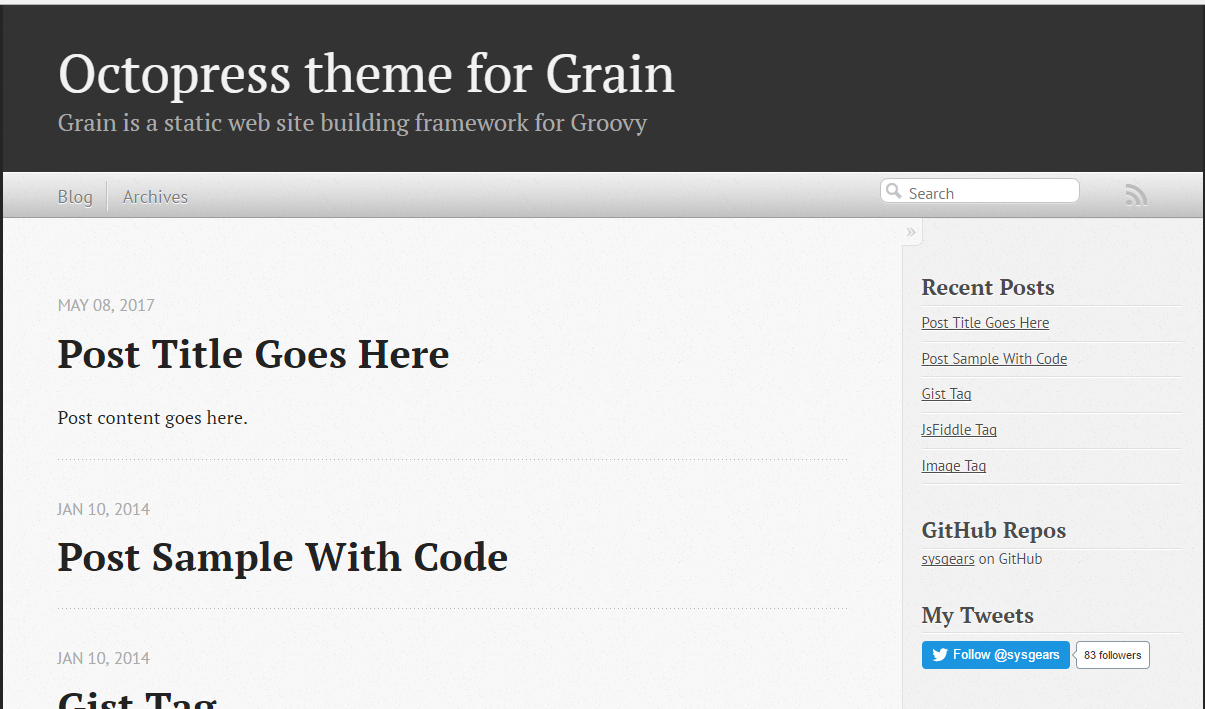
Now your blog should look like following:
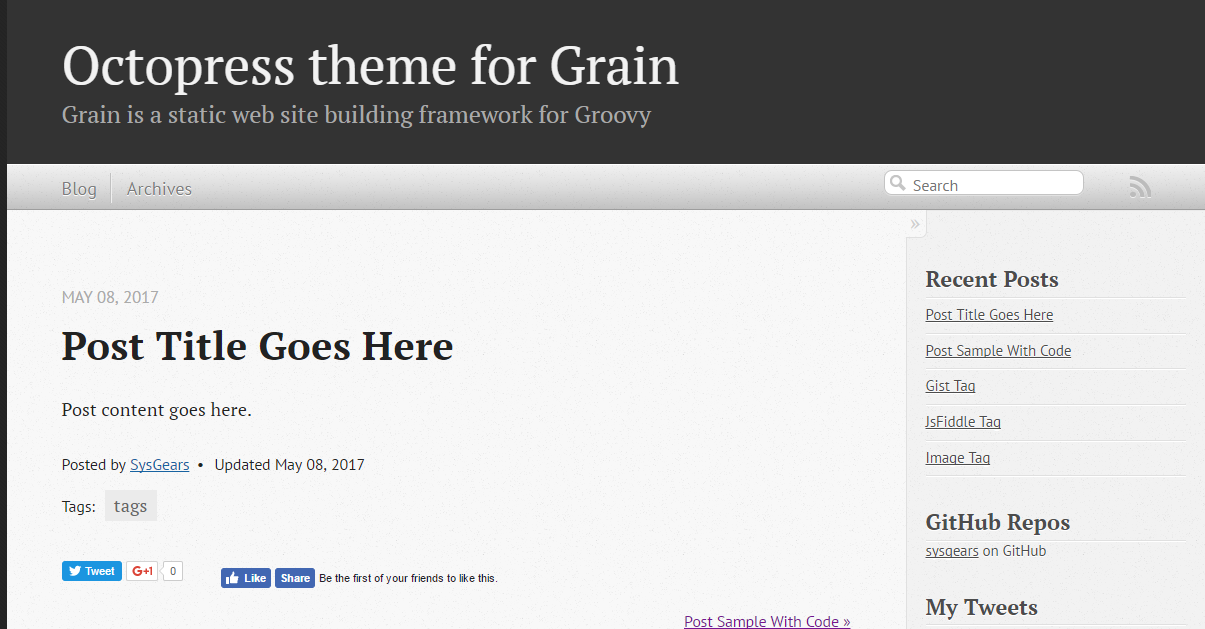
And if you follow new post link:
As I said in the beginning, Groovy is a privileged citizen in the Grain world. To prove it, in the following sections I will demonstrate simple examples how you can use Groovy in all kinds of site sources - configuration, layout, content and even deployment.
Site configuration
As you can see, there are plenty of defaults used by your blog now. This problem is easily fixed via SiteConfig.groovy file. What is important, is that it is implemented as executable Groovy script, which constructs site build context. Inside it you can:
-
assign primitive values to configuration parameters
-
use special Groovy literals like patterns, string templates or lists
-
instantiate objects and execute methods on them
-
use Groovy builders for hierarchical parameters
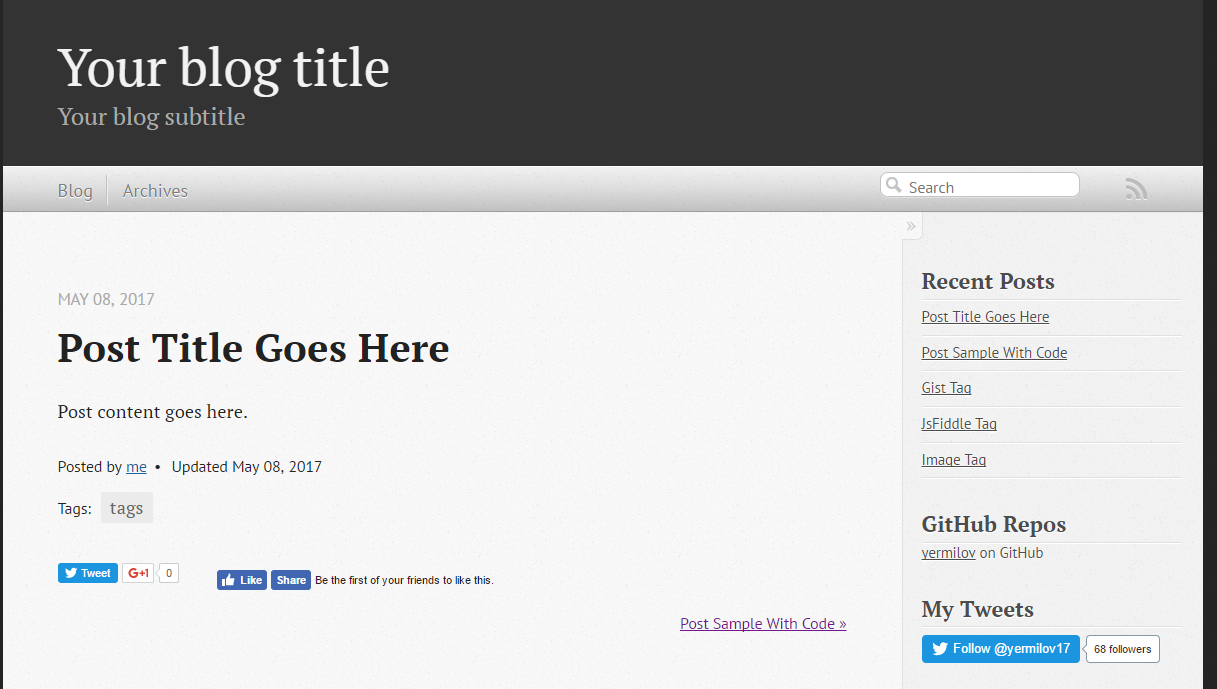
You can find tons of parameters there and even introduce your own. For the beginning, let’s concentrate on the simple ones and perform following changes:
Now, your blog should look a little bit more personal:
Moreover, you can use commands object to create custom commands for grain cli.
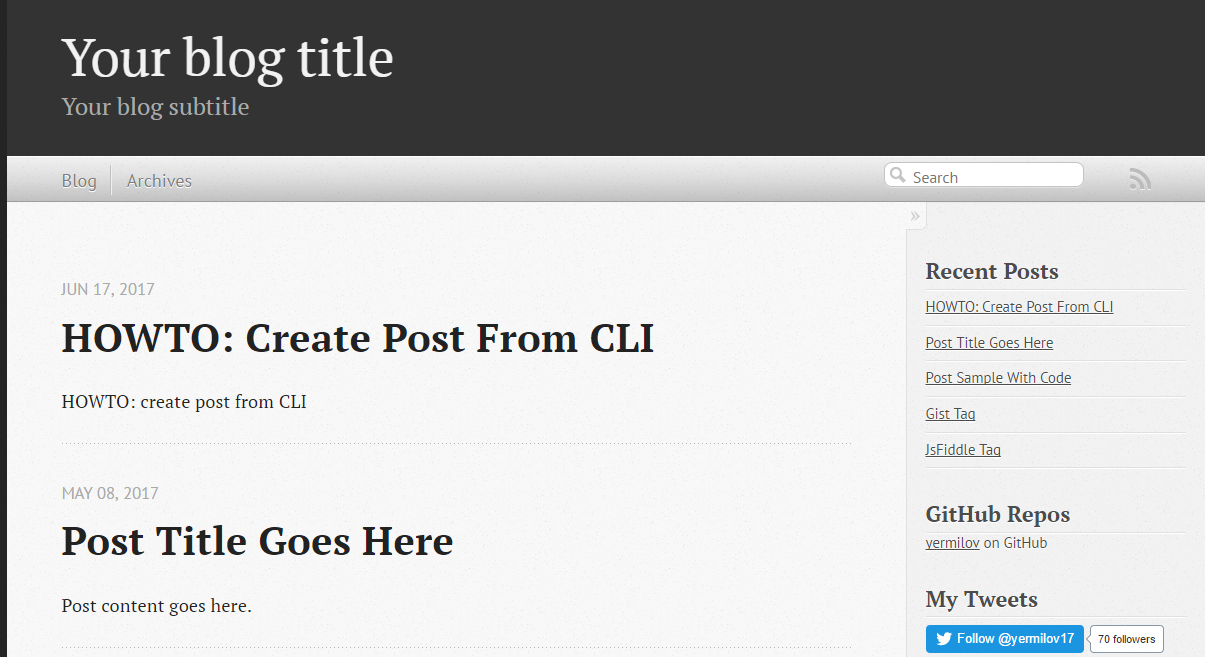
It means that if you execute ./grainw create-post 'HOWTO: create post from CLI' you will got following result:
Site layout
Grain has a pretty usual layout system. Let’s explore it using example of theme/layouts/blog.html which controls layout of site home page.
On the lines 1-5, you can see typical page front matter.
First of all, it configures layout inheritance.
You can open file named theme/layouts/default.html, which is parent layout for blog.html and check that blog.html content will be put inside ${content} tag (line 14) of default.html:
Following lines of front matter are passed into special page object and can be used to parametrize layout behavior.
After front matter, we see kind of normal HTML code with addition of Groovy.
It can be one-liner, just like in lines 19 and 36.
In these concrete example special implicit method include is used, which takes another HTML file and optionally parameters map, renders their content and insert into original page.
The more sophisticated option is multi-line Groovy code, which is, however, very natural and clear.
You can use if statement (like in line 8) to control which parts of page layout should be rendered and which not.
As a result, you do not need any special constructions as many other static site generators have.
For example, if you require rendering collection of elements, you can use Groovy Collection API like in line 16.
With such approach you can quickly implement some interesting features like in line 17, where you loop through list of blog posts, render content of each one, extract briefs and put them on your home page.
Site content
Just like with layout files you can simply put any Groovy code anywhere in your content file. For example, if you modify latest generated post as following:
You will get something like:

Pay attention that this code will be executed once and its result will be put into static HTML page. If you need dynamic behavior you will probable need something like:
If you need to reuse some code in multiple places, there is an excellent feature called custom tags in Grain.
If you have an experience with template frameworks like JSP, you can find something familiar in it.
As reference, open file \theme\src\com\sysgears\octopress\taglibs\OctopressTagLib.groovy which already contains several very useful tags like gist or img.
As you can see, custom tag is as simple as Groovy closure and HTML template so that we can implement our own in 3 minutes.
First, add following closure to \theme\src\com\sysgears\octopress\taglibs\OctopressTagLib.groovy:
Then, create new file \theme\includes\tags\dateNow.html with following content:
And last, modify your content page:
Ready! You will get something like:

Deployment to GitHub Pages
Now, it’s time to finalize all our efforts and publish results of our work to the internet. It can be achieved easily with support of GitHub Pages - web platform that serves static content from GitHub repositories. If you put some static resources to your repository branch named gh-pages, GitHub Pages will automatically serve it as web resource.
So, first obvious option is to run ./grainw generate and push content of dist folder to the gh-pages branch of your repository manually. But it is so boring!
Let’s rather set up automatic pipeline: Travis CI job which will be started automatically by each commit to develop branch, and actually do the same: run ./grainw generate and push content of dist folder to the gh-pages branch from the same repository.
The first thing we need to do - generate key pair, so Travis job will have permissions to push to your repository. To achieve it just run ssh-keygen -t rsa in your shell.
Then, go to GitHub settings page, and register new SSH key by providing its public part.
Next, create file .travis.yml to configure Travis job with following content:
Don’t forget to enable your repository build at Travis dashboard.
As you can see, Travis is supposed to take private part of your generated key from .travis/ directory.
But surely it’s not safe to put something private into public GitHub repository.
Luckily enough, Travis supports file encryption.
All you need is to run travis encrypt-file .travis/id_rsa --add.
But it’s important to know two tweaks regarding this command: first, be careful enough to commit encrypted file id_rsa.enc instead of original .travis/id_rsa and second - this command does not work on Windows boxes, you need a *nix one.
As you can see, there is almost no manual scripting for interaction with git in job definition.
The reason is that grain has special grainw deploy command which will invoke \theme\src\com\sysgears\octopress\deploy\GHPagesDeployer.groovy script.
It works fine with manual deployment process but needs some improvements to integrate with Travis.
You can take desired code here:
GHPagesDeployer script is instantiated in SiteConfig script we already seen. You need to configure it, by providing single parameter inside SiteConfig.groovy file:
The last thing you should do is to go to the setting of your Travis job and enable Build only if .travis.yml is present to prevent Travis from running build for gh-pages branch. Now you can push your latest changes to GitHub and watch how they will be processed by Travis job.

If you’ve done everything correctly, you should get the same result as I have here - https://yermilov.github.io/grain-example (sources can be examined here).